Tuesday 28 July 2015

Focusing on Hand Stitching with Fly Free (Artfull Crafts)

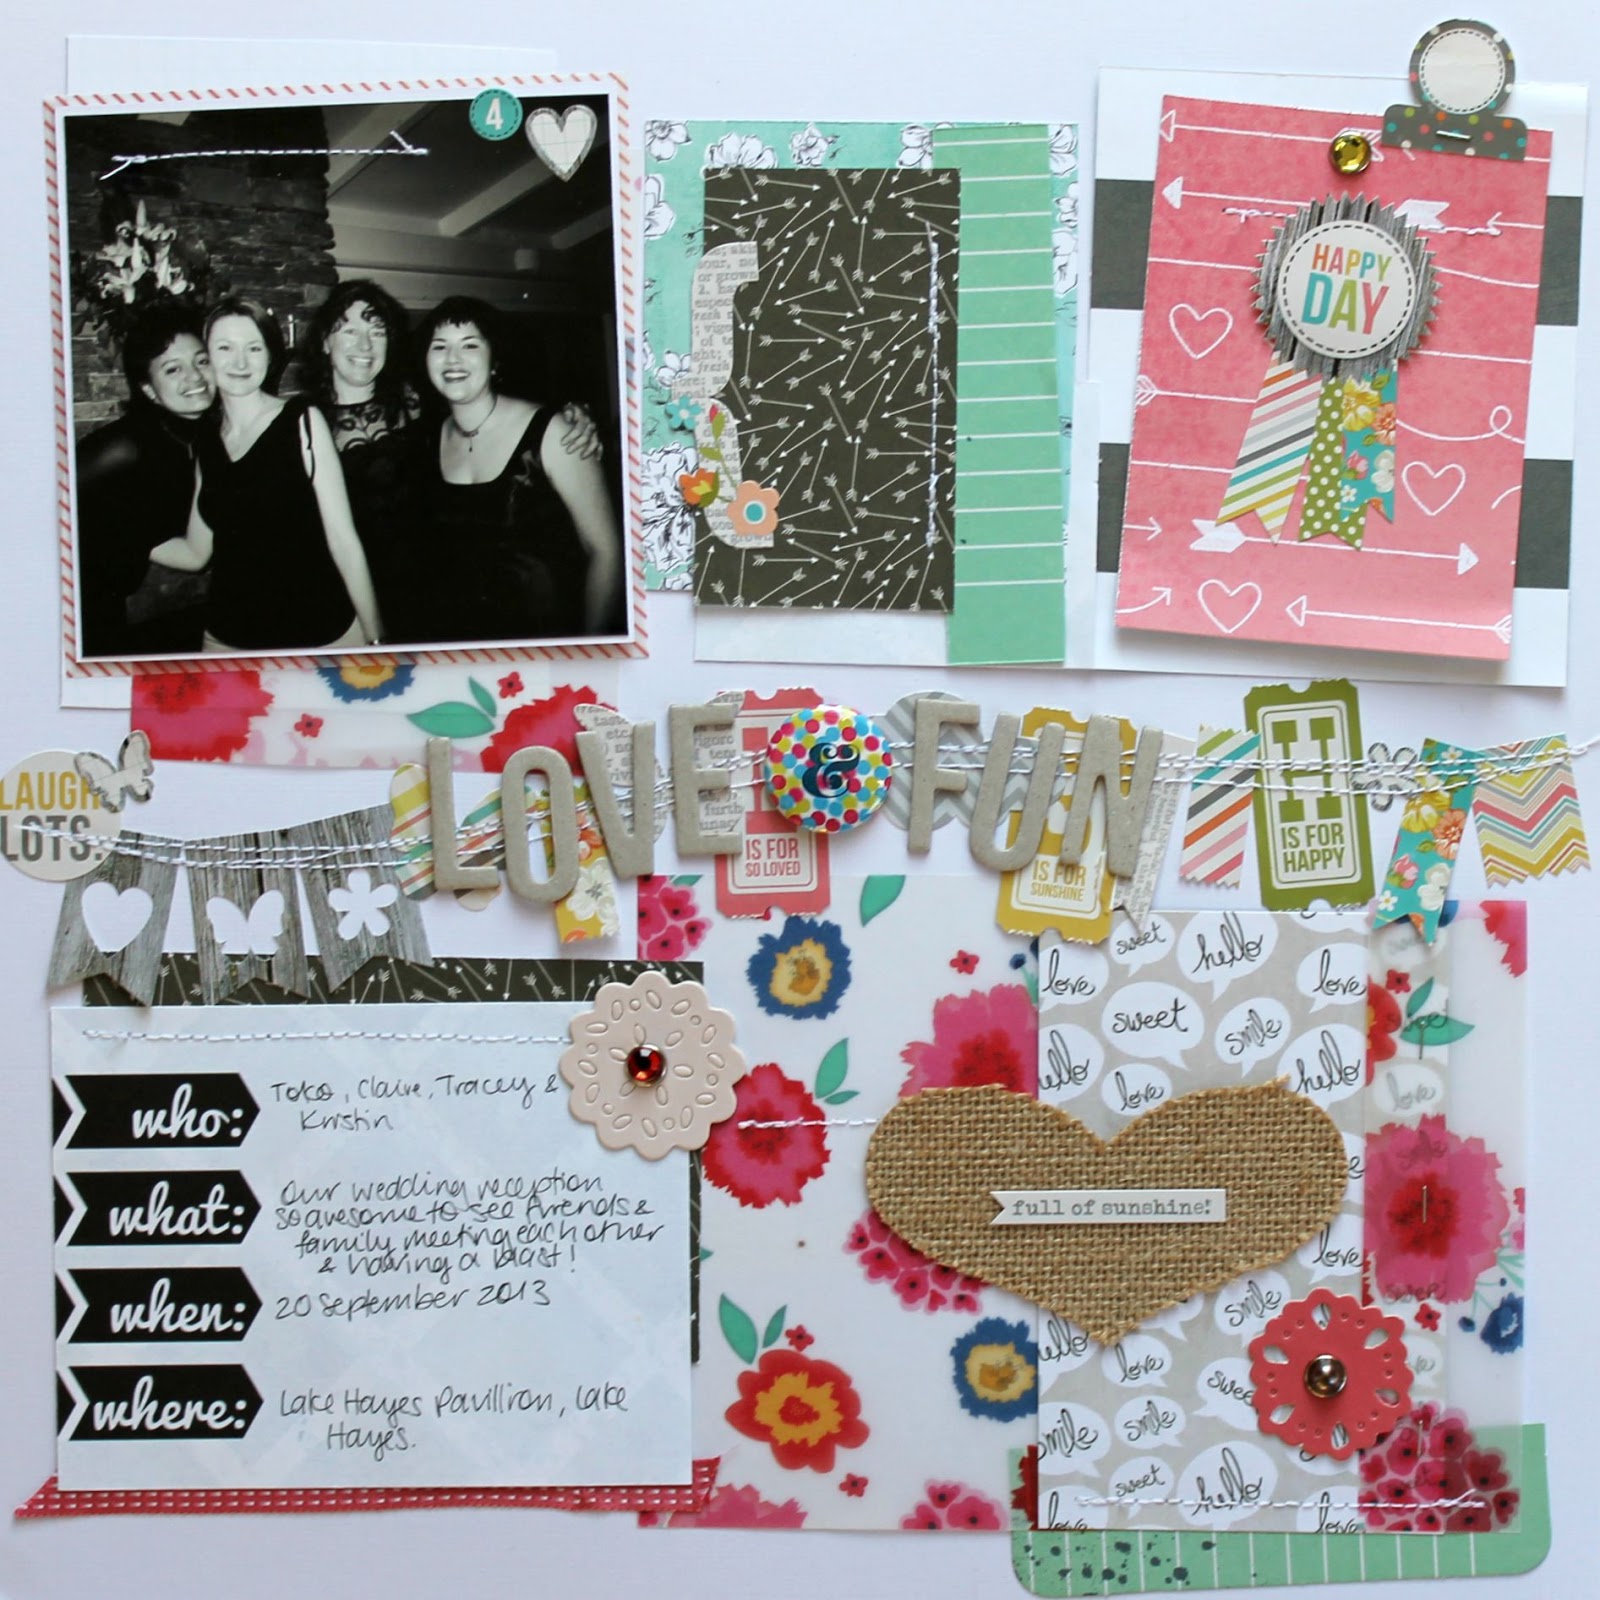
Hello!  Things have been so busy with work for me at them moment!  I was up on the Artfull Crafts blog on Saturday with two more layouts made with Kaisercraft's new Fly Free collection.  After going minimal with my previous layout (here) I decided to go bold and bright and bring in some mixed media.  I also decided to focus on hand stitching, as I'm making an effort to use my tools and items in my stash that will never run out.  I used what I believe are the first Amy Tangerine Stitching Templates.

My first layout features a background paper that has a lot going on!  I just added my photo (with a stitched heart), a cut apart, and some minimal embellishment.  I added water colour spatters in the background, and stitched a scallop border under the cut apart.  The photo is of Brielle and I when she was only 6 weeks old at the jetty at Jacks Point.


I added my scallop border hand stitching, and then water coloured it for interest.


A close up of my journaling and splatters.


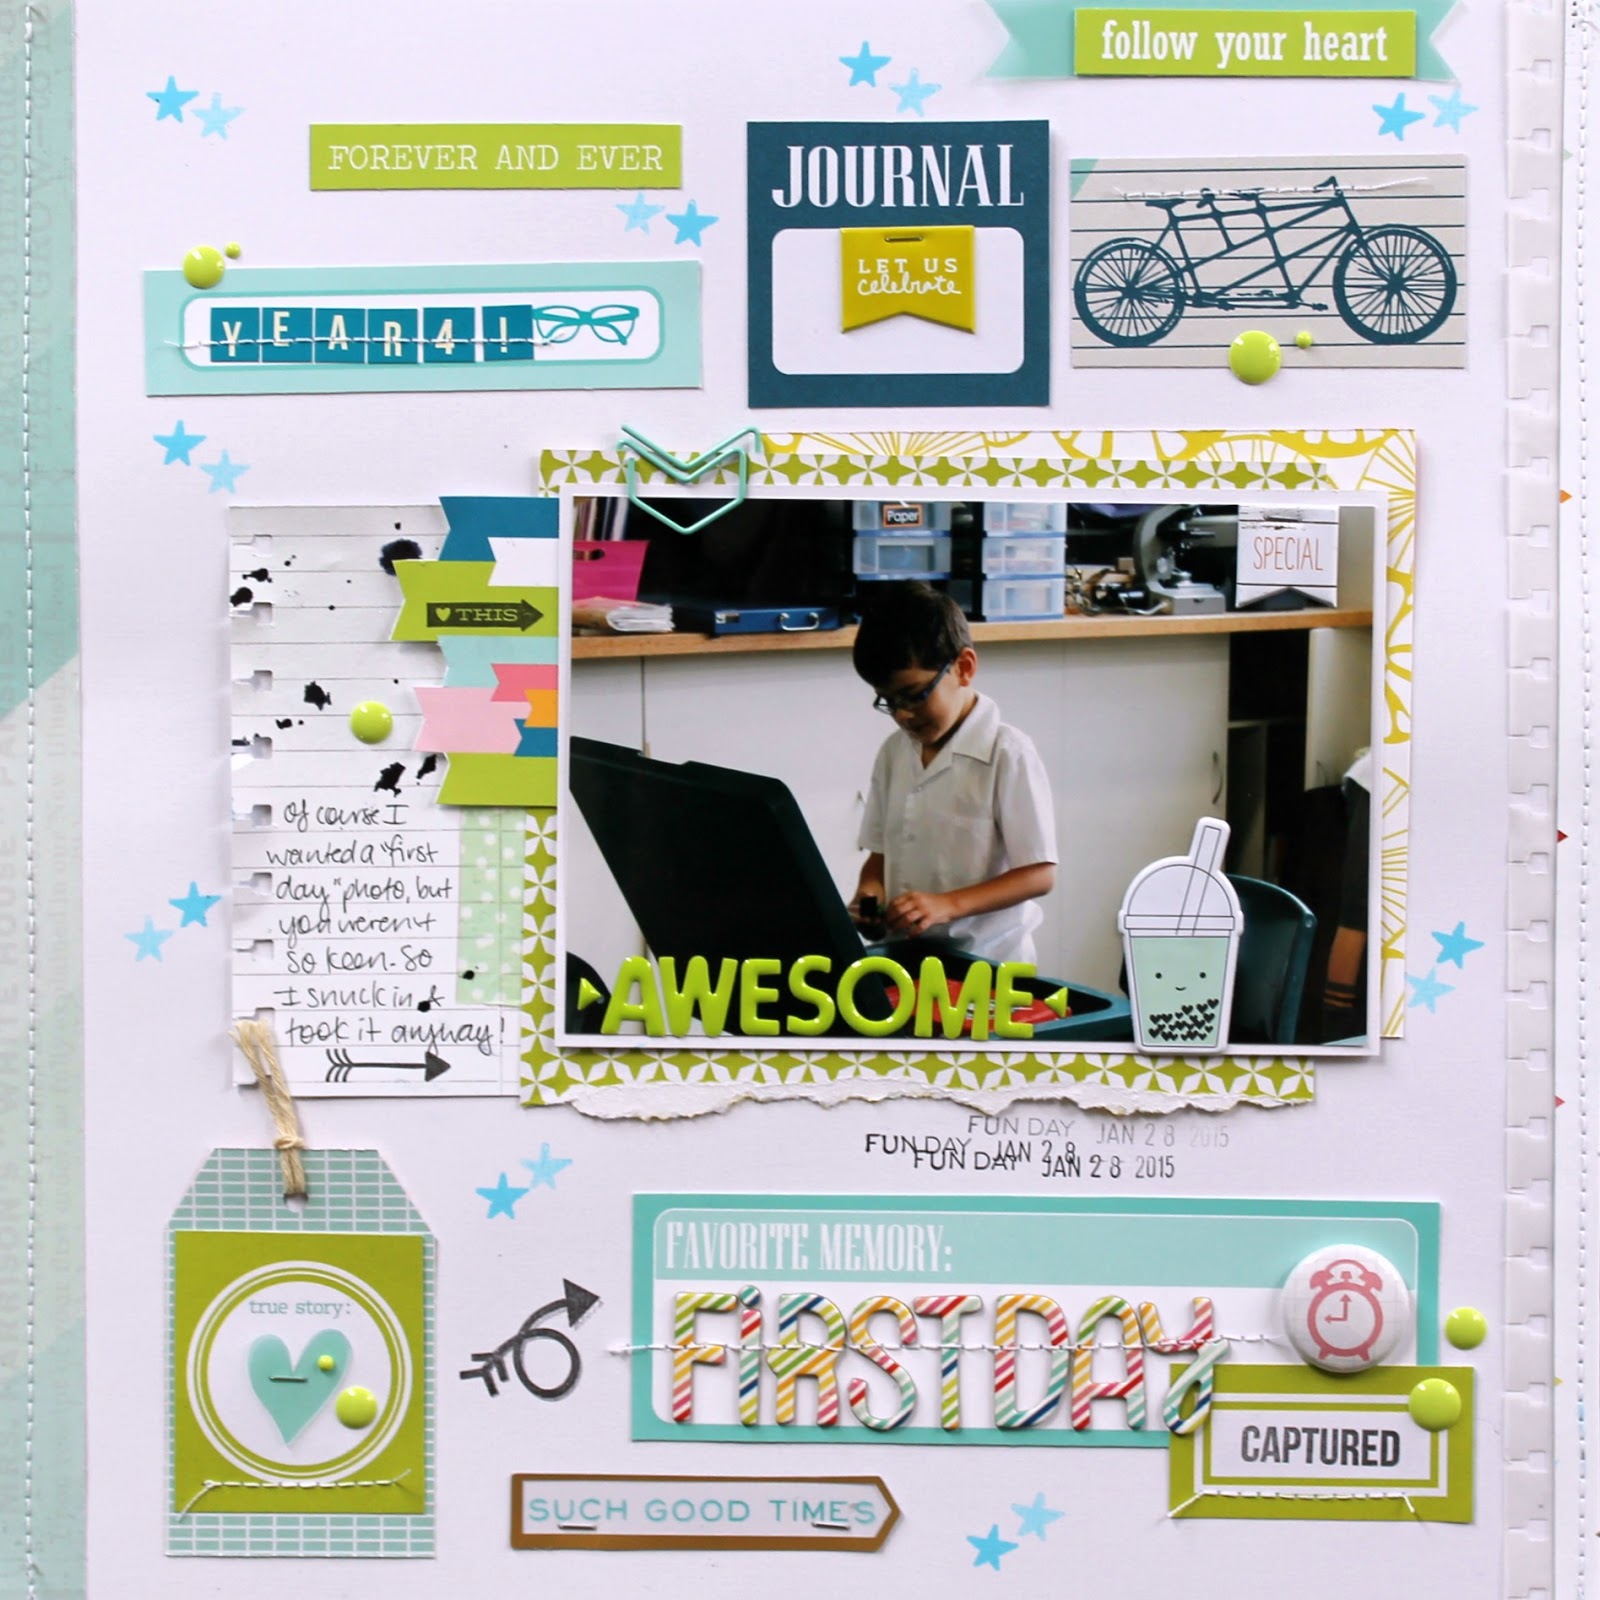
My second layout is about Brielle's love for Sam.  She loves to say "ahhh" when she gives cuddles, and one night I told her to "ahhh for Sam".  She immediately did her side hug with her head.  I started this layout by creating a 12 x 12 with the two background papers, and then applied gesso with my finger in the area where my photos would go.  I then did the packaging technique and splattered with my water colours.  I stitched my title and a border below my photos.  


I originally thought these photos would be difficult to scrap because they were taken at night, and because of the colour of their pjs, but this collection was perfect.


Another hand stitched border!


Thanks for looking!

Friday 24 July 2015

Poolside (Stuck?! Sketches)

Hello again!  I'm back with another sketch challenge layout, and this time I played along at Stuck?! Sketches with their latest.  I used my June Hip Kit again, and this time I used one of the most gorgeous papers I have ever seen as my background.  It's called Shine, and is from the Simple Stories Summer Vibes collection.  I really wanted to feature it, so it was perfect for this sketch. 

This layout features a photo of Brielle and I, enjoying her first time in the paddling pool last summer.   I cut the photo in half, and I love how it turned out!  The colour of my top and the blue of the pool were perfect for the papers and feel of the kit.  I was actually nervous as I was sprinking my colour shine, because I didn't want to ruin the paper.  I limited the colours that I used, with gold in all three places, and then colour matching the blue with blue and coral with the orange tones etc.


The Poolside title chipboard was perfect for the layout!


I made some more epoxy stickers with the triangle Fancy Pants paper from the kit.


 I toned down the top left cluster so as to not overtake the shinning rays, and stamped the tag with my Dear Lizzy phrase stamp.


Here is the sketch:


Have a fantastic weekend!

Thursday 23 July 2015

Summer Fun (Sketchabilities)

Hello!  I'm playing along with the Sketch 143, the latest challenge over at Sketchabilities again today.  I just love their sketches, and this week I've cracked into my June Hip Kit!  Yay!  I'm getting there and am currently up to my third layout.  I'm attempting to get caught up so that when the gorgeous August kit arrives I'll be ready to use it straight away.

I decided to scrap this summer photo of Azaria.  She is such a summer girl, loves being outside under the sprinkler or playing with the hose on the trampoline.

Once again this sketch called for lots of layering, which of course I love!  We had the Crate Paper Poolside Ephemera pack which has lots of summery pieces.  I'm really  loving splattering with my watercolours, and I choose my colours from that multi stripe tag.


I layered up two frames that I cut in half to make them go further.  I made the epoxy flowers by punching patterned paper and a clear epoxy sticker.


The Summer Fun die cut serves as a title and directional piece for my journalling.


I made my top cluster by layering the sun die cut, a tag, punched scallop borer, wood veneer and wood epoxy button.


Here is the fantastic sketch:


Thanks for looking!

Wednesday 22 July 2015

Jill Sprott's Ms. Pacman Challenge 2015

Hello!  When I saw on Instagram that Jill Sprott (amazingly talented scrapbooker and previously a Garden Girl at Two Peas) had issued a stash kit challenge of course I had to play along!  I mean there's nothing like a challenge to encourage me to use up older stash.  You can see the details of the challenge and my kit here.  The YouTube video of my kit is here.

And now for the layouts in the order that I made them; I made a total of 4 layouts.

This first layout was made for the latest Design Team reveal over at Lets Get Sketchy (sketch by Jenessa Franco) and my blog post with full details is here.  I focussed on using the blues and greens.


This second layout is of Brielle playing in the garden, and I finally used a substantial amount of the Dear Lizzy Lucky Charm paper that I'd been saving (hoarding!).  I used my tab folder and leaf dies for this one and because I was scrapping at a friend's house I used her Stampin' Up feather die.  Love how the die cuts add so much to this layout!  You'll also notice that I used some of that fabric paper to layer under my photos.  I added the umbrella because after I took these photos we had a huge down pour (in which the spouting couldn't cope).


This one is for my infomal wedding album, and has a process video that you can watch here.  Its a scrap lift of one of Jill Sprott's recent layouts, and my related blog post is here.


My fourth layout is another for my informal wedding album, and features three of my lovely University friends from my undergraduate degree.  I mostly made this layout from the kit because I wanted to use up that half doily and the Postcard cut apart.  I used a small amount of adhesive behind the doily and for the first time ever I successfully machine stitched in a circle, 3 times (slow and steady wins the race)!  Next I added splatters with my watercolour paints, using the stripes on the postcard as a guide to colour selection.  The layout then came together quickly after I added the postcard and photo, and built my embellishment around it.


So there you have it, 4 very different layouts, all from the same stash kit.  A huge thanks to Jill for the encouragement  via Instagram to play along!

Thanks for reading this far!


Tuesday 21 July 2015

Love Indeed (Artfull Crafts)

Good morning, I'm up on the Artfull Crafts blog today with a layout and process video for my first project with Kaisercraft's new Fly Free Collection.  This collection is everything I love - bright, floral patterns and of course very girly!

I decided to "try" and go minimal on this one, and I only used one piece of patterned paper!  I kept my design very central, and started with the border sticker and colour shine drops.  I built my embellishment around the photo, and finished with journalling, my title and more mist (because it just didn't look like enough!).

The photo is a selfie that I took of Brielle and I last year at home after we had tried to go into Queenstown for our annual Winter Festival.  I'd left it too late to go, and when we got up to the main road into town traffic was gridlocked, so I made a decision to head on back home and stay cuddled up inside (the perfect place for a newborn).


I used and acetate Heidi Swapp word and an Amy Tangerine gold thicker word for my title.


I fussy cut out this flower from one of the sheets of paper and tucked it under my photo to balance out the left side.


This die cut flower is from the Collectables die cut pack, and the word banner is from the sentiment sticker sheet.


You can watch my process video below or on my YouTube Channel here.


You can purchase the Fly Free collection from Artfull Crafts here.

Thanks for looking!

Monday 20 July 2015

Happiness is 3 (Lets Get Sketchy)

Hello hello! Its our mid week reveal over at Lets Get Sketchy, and this week we had an awesome sketch by the lovely Jenessa Franco.  This sketch has multi-photo possibilities, so I decided to go with two photos.  I swapped the title spot and journalling spot, and I used a kit that I made from my stash to play along with a challenge hosted by Jill Sprott (you can see my kit video on YouTube here).  I'll be sharing a full post about my kit and what I made tomorrow.

The photos are of my three playing with my youngest's walker.  They all love to play up to the camera!  I focussed this whole layout on using the blue and green tones of the kit.  This was the first layout I'd made with the kit, and it took a bit to get the feel for it.


A close up of my layers, and my heart!


I loved using these natural chipboard thickers raw.  The "Happiness Is" banner is a sticker that I popped up on little pop dots for dimension.


And here is the fun sketch, come and join us and play along!


We have a DT call at the moment, so if you're interested make sure you head on over to the blog for all the details.  Applications are being taken until July 24th, and its an open call that can be closed as soon as the positions are filled, so don't hesitate if you're interested.

Thanks for looking!

Sunday 19 July 2015

Love & Fun (Child Free Friday)

Hi there!  If you're a subscriber to my YouTube Channel you'll know that every Friday I share a process video with a layout that doesn't feature a photo of my kids.  It's Sunday now, but this Friday I created a layout with a kit from my stash that I made for a challenge that Jill Sprott is hosting on her blog.  Its called the Ms. Pacman Challenge 2015, and includes scrapping at least 3 projects from a kit made from your own stash.  The following are the requirements of the kit (taken directly from Jill's Post):
1. Eight pieces of patterned paper scraps and four specialty paper/"other" paper scraps -- no complete sheets allowed. 
2.  No more than one yard of trim, with no individual piece measuring more than 11" in length.
3. One sticker sheet, with a catch: at least one sticker must be missing from the sheet.
4. A pre-2013 alphabet set (the old challenge asked for a pre-2010 set, but I figure, three years have passed, so we can compensate for the time change).  If you don't have a set this old, aim for your oldest. 
5. One opened package/container of scrappy product.    
6.  One unopened package/container of scrappy product.
7. One roll of tape.   
8.  One item or package of product from a company that no longer makes scrappy products (the old challenge required a JBS product, which could still apply to this updated version).
9.  Six journaling and/or Project Life cards (if you don't have individual cards, you can cut them from a journaling-card-style patterned sheet or use a printable, if you wish).
10. Unlimited cardstock, adhesive, and "technique-type product" (e.g. stamps, stamping ink, paint, mist, stencils, embossing powder, etc.).     
I'm going to add a few more items:
11. A wild card item. Include anything you've been wanting to use (regardless of whether it is old or new, opened or unopened).  The time is now. 
12.  A nearby item. Grab something from your desk or craft area that is within arm's reach. This will be fairly easy to do if you are a mess-maker like me. If you are super-organized and have no items within reach, then head for the nearest drawer or bin, close your eyes, and reach blindly. The item that you retrieve will be the final addition to your kit. 
So here is a photo of my kit:


Its literally taken from my scrap bag and some of the embellishments I've had for years.  You can see the full kit in my video below:


I went to scrapbook at a friend's house on Thursday night, and made two layouts with the kit, one of which is for Lets Get Sketchy, which I'll be sharing tomorrow.  This is the third layout I made, and I also videoed it for my Child Free Friday series.  Then to give honour to Jill for her fabulous kit challenge, I decided to scrap lift this amazingly beautiful and heartfelt layout of hers:


So here is my take on Jill's layout.  I scrapped another wedding reception photo.  I started off with her concept of paper layers and banner through the middle, then I let the layout take a life of its own with my embellishing.


So happy to use this lovely burlap heart that a friend made for me.


I kept my natural chipboard raw, which really balances the of rest of the layout, and I had lots of fun with my sewing machine!


You can watch my process video below.


I loved this challenge, thanks for looking!


Friday 17 July 2015

First Day (May Hip Kit)

Good evening!  The second to last layout I made with my May Hip Kit was a boy layout for Sam.  I've been making a really conscious effort to scrap him lately, because my love for girly products dominates the pages I make!

This page is about Sam's first day of school, and seriously this is the only photo I could get, because he didn't want any typical first day photos!  So I snuck into the classroom (luckily Shaun is his teacher) and I captured this shot of Sam setting up his desk!  He has a little half smile because he know's what I'm doing!


At first I wasn't sure about the thickers in this kit, but I ended up loving them!  The flair badge isn't from the kit, and is from Happy Scatter, and it was perfect because it probably was 9am when I took this photo.  I also added enamel dots, and I was so happy to use these ones up (finally!).


I loved layering up bits and pieces for this tag!  I love the whole green and blue on this page, and I made a real effort to include stamping.


You can watch my process below or on my YouTube Channel.


Thanks for looking!

Wednesday 15 July 2015

Kaiser craft Secret Garden Layouts (Artfull Crafts)

Yesterday I was up on the Artfull Crafts blog with two layouts I made with Kaisercraft's relatively new Secret Garden collection.  Secret Garden is a lovely feminine collection, with pretty soft colours.

The first layout is of Brielle playing in the garden.  I took the photo to focus on the lavenders with her sweet pony-tailed little self in background.  I generally struggle with using flowers, but on this one I felt compelled to make a little bouquet. 


Here's a close up of the bouquet, I just gathered together the flowers that Liz included with the collection, tied them with a ribbon and adhered them with hot glue.


This isn't my usual style, so I added some India ink splatters.


The second layout is for my informal wedding album, and is made up of photos that our guests took at our reception from disposable cameras.  The photo is of my Mother in law and her Dad (who has now passed onto glory).  I was given some of the 6x6 papers to play with, so I die cut them into circles with my Cuttlebug.  The banner at the top was cut out of one of the cut apart sheets.


Die cuts from the Collectables were perfect for this page.


I softened the photo (which is quite dark) with a doily, and added the die cut over the top for my title.


You can purchase the collection in the shop here.

Thanks for looking!

Tuesday 14 July 2015

One Paper, 3 Layouts!

Hello! It's week two of the school holidays here and I wanted to share with you three layouts that I made with the same piece of paper from my May Hip Kit.  It was this paper from Dear Lizzy "Fine & Dandy" called Lets Party.  I really wanted to focus on the striped side, and rather than use it as a full background or layering piece I really wanted to feature it on three layouts.
I made all of these layouts while we were on holiday in Christchurch last week.  Shaun had to go for a coference so we decided to tag along too!  We stayed at a holiday home, and I just set myself up on the dining room table while Brielle was sleeping,  and in the evening once the kids had gone to bed.

For my first layout I cut apart some of the stripes and then adhered them with the white cardstock background between them.  This created a central focus which was perfect for my photo and embellishments.  I had this funny photo of Azaria posing on the deck at Lonestar Restaurant in Wanaka.  She actually has no idea why she was posing of saluting!  It was also the perfect layout to use the flamingo.


For my second layout I used a piece of the paper on the bottom third of my page, added my photos and build my composition around them.  The photos were taken on Boxing Day when Shaun's brother and family came up to visit.


For my final layout I used the final piece of the paper that was remaining from cutting the stripes for the first layout.  I used two photos of Shaun and I with Brielle, and did the package technique with water colours in the background.    I kept this one really simple, focussing on the photos and with minimal embellishment.


I hope you enjoyed these layouts, I loved creating them!

Saturday 11 July 2015

She Loves Lemons!

Good evening, it's Saturday night here and I quickly wanted to share a layout featuring a heap of lemons!  My May Hip Kit contained a lot of Pink Paislee's Citrus Bliss collection, and when I say them I knew I had the perfect photos to actually use them within theme (something I hardly ever do!).

Azaria loves lemons, and when we were in Wanaka earlier in the year I was able to snap several photos of her sucking on a lemon from her lemonade.  Perfect photos, and not at all staged for all these products!  I figured, hey might as well get them all on the page!


I used some watercolour paint, mists and India Ink on my background.  In order to use up all the themed embellishments I made my own epoxy stickers by punching out some of the lemon slices, and I created clusters.


I loved mixing letter stickers for my title, and I especially love those multi coloured chipboard thickers!


I hope you enjoyed looking at this layout because I had a blast creating it!

Also, we are having a Design Team Call over at Lets Get Sketchy.  This is such a fabulous team to be on, so do head on over and check it out if you're interested.  Applications are being selected until July 24, and you need to create a layout based on one of the two sketches shown on the blog post.


Have an amazing rest of your weekend!